The steps here show the basic outline, but Apple change the details with each new version of the Operating System. Take these steps as a guide.
- Open Disk Utility found in the Utilities folder (/Applications/Utilities).
- Click the New Image button, or choose New then Blank Disk Image from the Disk Utility File menu.
- Enter a name in the Save As: field. This name is used for the disk image (.dmg) file.
- Change the save destination if you wish to.
-
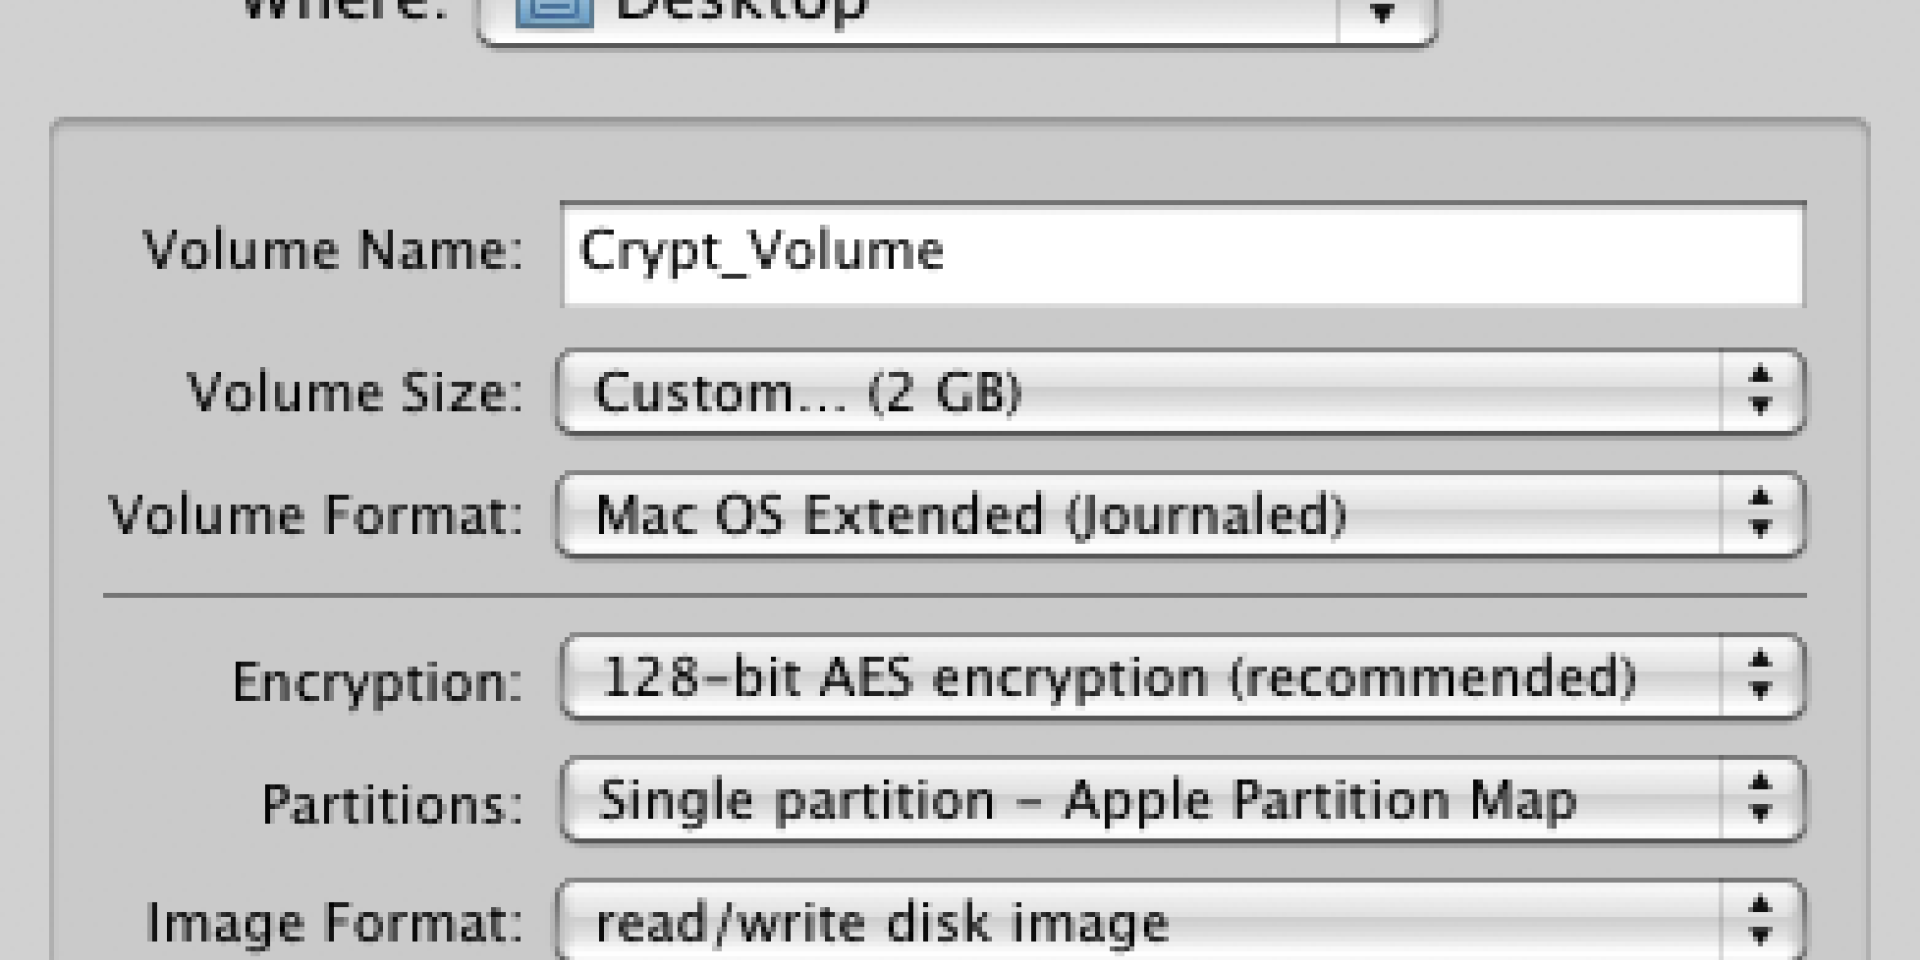
- Change the volume name to match the disk image name.
- Select a size for the image file from the Volume Size drop-down menu, or use Custom to set the space you require.
- The default Mac OS X Extended (Journaled) volume format will be correct in most cases, if you wish to change it use the drop-down menu.
- Choose an image format. You can use sparse disk image for a disk image that only uses as much space as it needs, rather than a set amount of space. If you're not sure use the read/write disk image choice.
- From the Encryption: drop-down choose 256-bit AES if available, otherwise choose 128-bit AES to encrypt the image's contents with a password.
- Click the Create button.
- Enter and verify a good password in the dialog window that appears. This password will be saved in your keychain by default, it is recommended that you deselect this. Note: If you forget this password then the files stored within the disk image will be inaccessible.
- Click OK.